A wind event, heavy storm, or falling tree takes 30 seconds to create a situation that takes weeks to sort out if you handle it wrong. The sequence matters as much as the repair itself — especially when insurance is involved. Do things in the wrong order and you can compromise your claim, create additional damage, or end up holding the bill for work that should have been covered.
This guide is the right sequence. Follow it.
The South Bay Storm Damage Context
The South Bay — San Jose, Campbell, Los Gatos, Saratoga, and surrounding areas — gets storm damage from several distinct weather events:
- Atmospheric rivers: These are the big, sustained rain events that come through in winter and early spring. High-volume rainfall over 24–72 hours overwhelms gutters, tests flashings, and finds every compromise in an aging roof.
- Wind events from the Diablo Range: Northeast winds that accelerate through gaps in the hills can deliver sustained 40–50 mph gusts with higher bursts. Lifted shingles, damaged ridge caps, and torn pipe boots are common results.
- Valley fog and frost cycling: While not dramatic, repeated frost-thaw cycles on hillside homes in Los Gatos and Saratoga stress flashing seals and sealants over winter.
- Falling trees and debris: Older oak and eucalyptus trees throughout the South Bay are failure risks in sustained winds. A large limb impact on a roof is a different category of damage than wind or rain — often structural, often dramatic.
Step One: Document Before You Touch Anything
Before any cleanup, before any repairs, before you even call the insurance company: document everything. This is the step that most homeowners shortcut in the panic of the moment, and it costs them dearly.
- Photograph and video the roof from multiple angles — from the ground, from second-story windows, from adjacent higher ground if available
- Document all visible interior damage — ceiling staining, water in the attic, damaged contents — with photos and video
- Note the date and time, and if you can get a local weather report showing the storm event, save a screenshot or printout
- Document any fallen debris — tree limbs, neighbor’s property, etc. — before anything is moved
You want a timestamped photo record that establishes what the damage looked like before anyone touched it. This is your documentation for the insurance claim and for the contractor assessment.
Step Two: Stop Active Water Entry
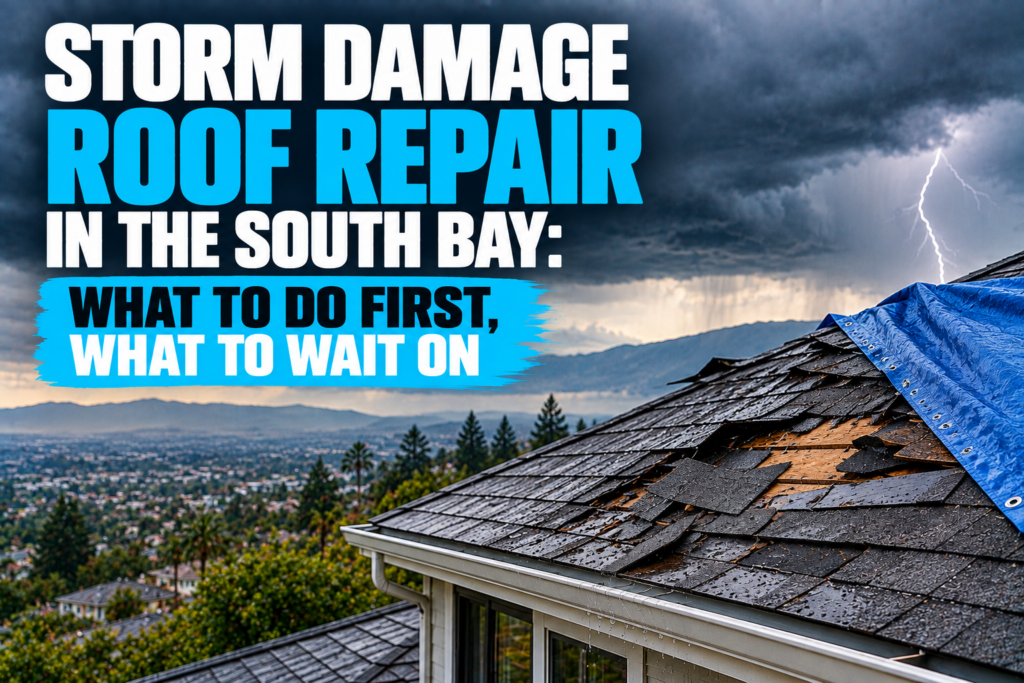
If there’s active water entering your home through the roof — during rain, or if you have open roof sections — that needs to be addressed immediately with temporary measures. Active water intrusion causes compounding damage: structural, insulation, drywall, mold.
Temporary tarping is the standard response. A heavy-duty polyethylene tarp secured over damaged roof sections can stop water entry until permanent repairs are arranged. Key points on tarping:
- The tarp should extend from the ridge down and be secured over the ridge — not just draped over the damaged area — to prevent wind lifting and rain driving underneath
- Use proper weight tarps (6 mil or heavier) — lightweight tarps won’t survive a second storm event
- Document the tarping with photos to show it was done as a mitigation measure, not a permanent repair
- If you’re not comfortable on your roof — and after a storm event, the surface may be wet and unstable — call a contractor for emergency tarping rather than doing it yourself
Temporary tarping to prevent additional damage is generally acceptable to insurance carriers and does not compromise a claim. Permanent repairs before an insurance inspection is what you want to avoid.
Step Three: Get a Professional Assessment
Before calling insurance, get a roofing professional to assess the damage. A licensed contractor’s assessment serves several functions:
- Identifies the full scope of damage, including what isn’t visible from the ground
- Distinguishes storm damage from pre-existing wear (important for the claim)
- Provides a written assessment and repair estimate that you bring to the insurance process
- Can determine whether damage is localized (repair) or has created broader system failure (replacement)
Having a professional assessment in hand before the adjuster visits means you go into the insurance process with documented evidence, not just your own observation of the damage. Insurance adjusters are not roofing specialists; they assess based on what they can see and what you can show them.
Step Four: File Your Insurance Claim
With documentation and a professional assessment in hand, contact your insurance carrier to open a claim. When you call:
- Report the specific event type and date
- Describe the damage in general terms (you have the detailed documentation)
- Ask specifically about the inspection process and timeline — when will an adjuster be assigned?
- Confirm that temporary tarping you’ve done is acceptable under your policy
- Ask about your deductible and whether you have RCV (replacement cost value) or ACV (actual cash value) coverage
ACV vs. RCV is a critical distinction. ACV policies pay out the depreciated value of the damaged property — a 15-year-old roof at 50% of its lifespan might receive 50% of replacement cost. RCV policies pay the full replacement cost, typically releasing the remaining funds after you complete the repair. Know which policy you have before you have a claim — and if you’re currently on ACV, consider whether upgrading to RCV coverage is worth the premium difference.
Step Five: Be Present for the Adjuster’s Inspection
When the insurance adjuster comes, be there. Walk them through the damage yourself — point to everything your contractor identified. Share the professional assessment. Ask questions about what they’re noting in their report and whether they need to access the attic.
If you disagree with the adjuster’s assessment, you have options: you can request a re-inspection, bring in a public adjuster, or invoke your policy’s appraisal process if one is available. Insurance companies are not infallible in their damage assessments — push back if the scope seems significantly different from the professional assessment you have.
Common South Bay Storm Damage Scenarios
Wind-lifted shingles: Strong wind events — particularly the Diablo winds that come through the Los Gatos and Saratoga areas — can lift and curl shingle tabs, crack seal strips, and in severe cases rip shingles off entirely. Lifted shingles may not immediately leak but have lost their weather seal. Assess and repair before the next rain event.
Debris impact: Tree limbs are the primary concern throughout the South Bay’s wooded residential areas. Small limbs cause cosmetic damage; larger impacts can crack or puncture decking. Any impact that leaves visible indentation on the shingle surface warrants closer inspection for underlying decking damage.
Flashing failures from sustained rain: An atmospheric river that runs 48–72 hours finds every gap in flashing seal. If you saw interior leaks during a recent major storm event, flashing investigation is where to start — not the shingles.
Ridge cap loss: The ridge is the most vulnerable part of the roof to high wind. Missing or lifted ridge caps are a common storm damage finding. These should be addressed promptly because an open ridge cap directly exposes the underlayment and decking.
What the Repair Timeline Looks Like
After storm events, roofing contractors get busy. Plan for:
- Emergency tarping/temporary mitigation: same day or next day for most contractors
- Contractor assessment: within a few days of the event
- Insurance adjuster visit: 1–3 weeks after claim filing, depending on how widespread the storm damage is
- Claim processing and approval: variable, often 1–3 weeks after adjuster visit
- Scheduled repair: depends on contractor availability — after major storms, wait times extend
Keep temporary protective measures in place through this entire timeline. Don’t remove tarping until the contractor is on-site ready to make permanent repairs.
Watch for Storm Chaser Contractors
After any significant South Bay storm event, out-of-area contractors canvas neighborhoods looking for quick work. Some are legitimate; many are not. Before you hire anyone after a storm, verify their California CSLB license, confirm they carry current general liability and workers’ comp insurance, and get a written contract before any work begins. The urgency of a storm aftermath is exactly when unscrupulous contractors count on you to skip due diligence.
Cal Coast Roofing serves the South Bay and Santa Cruz area year-round — not just after storms. We provide emergency tarping, professional storm damage assessments, and full repair and replacement services, and we can assist with the documentation process for your insurance claim.
Recent storm damage? We offer emergency assessments and tarping for South Bay and Santa Cruz homeowners — document first, repair right.Request an Emergency Assessment